Essential steps to build a Spring Boot environment that survives production.
“It worked on my PC.” That sentence has probably cost more engineering hours than any production outage.
Everything looks fine locally. Your tests pass. Your migrations run. Then production hits — and suddenly your queries break, indexes behave differently or JSON fields don’t work as expected.
The issue isn’t your code. It’s your testing strategy.
Setting up a Spring Boot project is easy. Setting it up for long-term survival is an art. If you don’t define your testing and quality boundaries on “Day Zero,” your future bugs are already waiting for you.
⚡ TL;DR (Quick Recap)
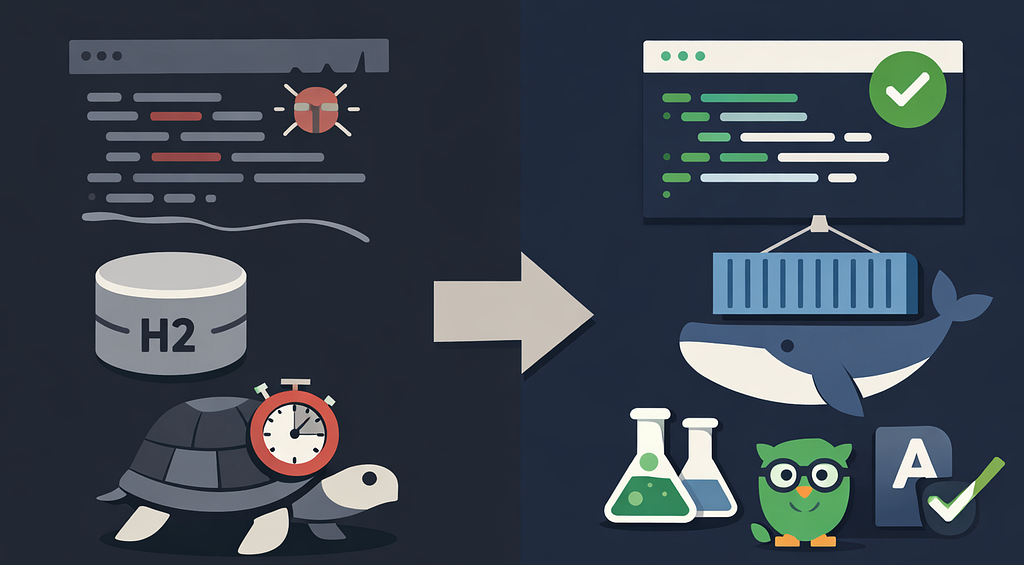
- Use Testcontainers, not H2, for integration tests
- Replace @SpringBootTest with @WebMvcTest or @DataJpaTest for faster, focused test slices.
- Use AssertJ + Mockito for cleaner tests
- Enforce formatting with Spotless + .editorconfig
- All examples assume Spring Boot 4.x
Why Day Zero Decisions Matter
Testing problems rarely appear immediately. They emerge slowly:
- CI pipelines creep from 2 minutes to 20
- Tests become flaky and get ignored
- Developers stop trusting results
- Production bugs slip through anyway
This isn’t caused by lack of effort — it’s caused by bad defaults. What you choose on day one becomes the template for every test that follows.
Testcontainers: The Real-Database Habit
H2 is fast, simple and requires zero setup. That’s exactly why it’s dangerous.
It behaves differently from real databases like PostgreSQL:
- Different SQL dialect behavior
- Missing support for advanced features (e.g., JSONB)
- Different indexing and query planning
- Migration inconsistencies
You’re not testing your application — you’re testing a simulation.
The Fix: Testcontainers
Instead of faking your database, run the real one.
@DataJpaTest
@Testcontainers
@AutoConfigureTestDatabase(replace = Replace.NONE)
class UserRepositoryTest {
    @Container
    @ServiceConnection
    static PostgreSQLContainer<?> postgres =
        new PostgreSQLContainer<>("postgres:16-alpine");
    @Autowired
    private UserRepository repository;
    @Test
    void shouldFindUserByEmail() {
        var user = repository.save(new User("dev@example.com"));
        var result = repository.findByEmail("dev@example.com");
        assertThat(result).isPresent();
    }
}
Why This Works
- Same engine as production
- Real migrations executed
- No dialect surprises
- Fully reproducible environment
The Habit: Use Testcontainers for critical integration paths or when database-specific behavior matters.
The Payoff: Zero “works on my machine” database bugs
@SpringBootTest Is Not a default Strategy
@SpringBootTest boots the entire Spring application context. That is occasionally what you need. It is powerful, but expensive — use it intentionally, not as a default
As your system grows, each test:
- Boots hundreds of beans
- Connects unnecessary infrastructure
- Adds seconds of startup time
The real reason @SpringBootTest kills CI is that if you customize context slightly in different classes, Spring has to restart the context multiple times. Multiply that across dozens of tests and your CI pipeline slows to a crawl.
Use Test Slices Instead
Spring Boot gives you focused alternatives that load only what you need.
Key Test Slices
- @WebMvcTest → Controller layer only
- @DataJpaTest → Repository + JPA layer
- @RestClientTest → External API clients
- @JsonTest → Serialization logic
Example: Controller Test
@WebMvcTest(UserController.class)
class UserControllerTest {
    @Autowired
    private MockMvc mockMvc;
    @MockitoBean
    private UserService service;
    @Test
    void shouldReturnUser() throws Exception {
        given(service.findById(1L))
            .willReturn(new UserDto(1L, "John"));
        mockMvc.perform(get("/users/1"))
               .andExpect(status().isOk())
               .andExpect(jsonPath("$.name").value("John"));
    }
}
Why It Matters
- Starts in milliseconds
- Tests only what matters
- Eliminates unnecessary dependencies
If you don’t need the full context — don’t load it.
Make Tests Readable with AssertJ
Tests are not just verification — they’re documentation.
Compare:
assertEquals("John", user.getName());vs.
assertThat(user.getName()).isEqualTo("John");Now scale that across complex objects:
assertThat(user)
    .isNotNull()
    .extracting(User::getEmail)
    .isEqualTo("dev@example.com");
Why AssertJ Wins
- Fluent, readable API
- Better failure messages
- Easier debugging
Keep Tests Deterministic with Mockito
External systems should never break your tests.
Use Mockito to isolate dependencies:
@Test
void shouldProcessPayment() {
    // Arrange: stub any return value the service depends on
    given(client.charge(100)).willReturn(new ChargeResult(true));

    // Act
    service.process(new PaymentRequest(100));

    // Assert
    verify(client).charge(100);
}
Why It Matters
- No network calls
- No flaky dependencies
- Fully deterministic tests
Prevent Chaos with Formatting Rules
Testing isn’t just runtime behavior — it’s also code quality.
Without enforced formatting:
- PRs become style debates
- Codebase drifts over time
- Reviews slow down
Day Zero Setup
1. .editorconfig
2. Spotless (auto-formatting)
3. Checkstyle (rules enforcement)
Why It Matters
- Zero style discussions in PRs
- Consistent codebase
- Faster reviews
Practical Application: Your Day Zero Checklist
A strong testing setup isn’t about tools — it’s about habits.
- Use test slices → fast execution
- Use AssertJ → readable assertions
- Use Mockito → deterministic tests
- Use Spotless + editorconfig → consistent code
Each decision is small. Together, they completely change how your project evolves.
Final Takeaways
The cost of a bug grows the further it travels. A weak testing setup lets bugs reach production. A strong one stops them in milliseconds.
If you remember one thing:
Your CI speed, your production stability and your team’s trust in tests are all decided on day one. Choose defaults like they’ll still matter in a year — because they will.
You can find example of code on GitHub.
Originally posted on marconak-matej.medium.com.